Thursday 15 October 2015

A Class at Savour School and a Melbourne Adventure

Earlier this year, I attended the Cake Bake and Sweets Show in Sydney where I was lucky enough to win a voucher from Kirsten Tibballs. The voucher was for a class at Savour Chocolate and Patisserie School in Melbourne which she is the owner of. After the show I excitedly went online to book myself a spot in a class where I was faced with the decision of choosing which class I wanted to do the most. In the end I was tossing up between the Chocolates and Pralines Level 1 and the Entremets/Gateaux Classes. In the end I chose to participate in the Entremets class which took place two weekends ago. My mum and I decided to make a trip out of it and spend a long weekend in Melbourne, exploring all it has to offer (mainly food related) as it is the food capital of Australia.

We started our adventure in South Melbourne where we had a look though the South Melbourne Markets which had an amazing fresh foods section offering fresh meats and seafood, homemade pastas, dips, olives etc, fresh fruit and baked goods. We also went to Chefs Hat where I stocked up on some equipment I wanted that is hard to find at home. This store was amazing and I only wish my budget and suitcase were larger so I could have bought so much more. After that we walked across the road to Bibelot, a concept patisserie by Chez Dre, where we had our first dessert of the day.  I chose the Tonka, Apple and Cinnamon Petit Gateaux as well as an Iced Chocolate and Mum had the Salted Caramel Eclair and a Rose Lemonade. It was a lovely spot and the food was wonderful and was my favourite patisserie of the whole trip.
Our Selection of Desserts
Tonka, Apple and Cinnamon
Salted Caramel Eclair
After this we headed back into the city where we did some more shopping before getting on another tram down to South Yarra. First on our list was the famous Burch and Purchese and after we got a little bit lost we finally found it, ready for our second dessert of the day. I decided to try the Chocolate, Pear, Hazelnut and Caramel as I had thought about making it myself at home earlier this year as my first entremet. Mum couldn't resist the look of the Chocolate, Caramel, Honeycomb and Popcorn and we were definitely not disappointed. After we had finished eating, we ducked back inside to buy some chocolates to take home for the rest of the family. Although choosing from the wide selection on offer made both decisions quite difficult.

Next up we headed up the road to our last stop of the day - Luxbite. We decided to get takeaway so that we could eat them after dinner that night. I tried the lollybag cake which I have been looking forward to for so long and it was even better than I expected. Mum tried the Blue Calpis which was also really yum. I didn't get any photos of these desserts as we were too excited to try them after dinner.
For dinner we went to Taco Bills for Mexican which was really great and being our first savoury meal of the day (oops...) it was exactly what we were looking for.

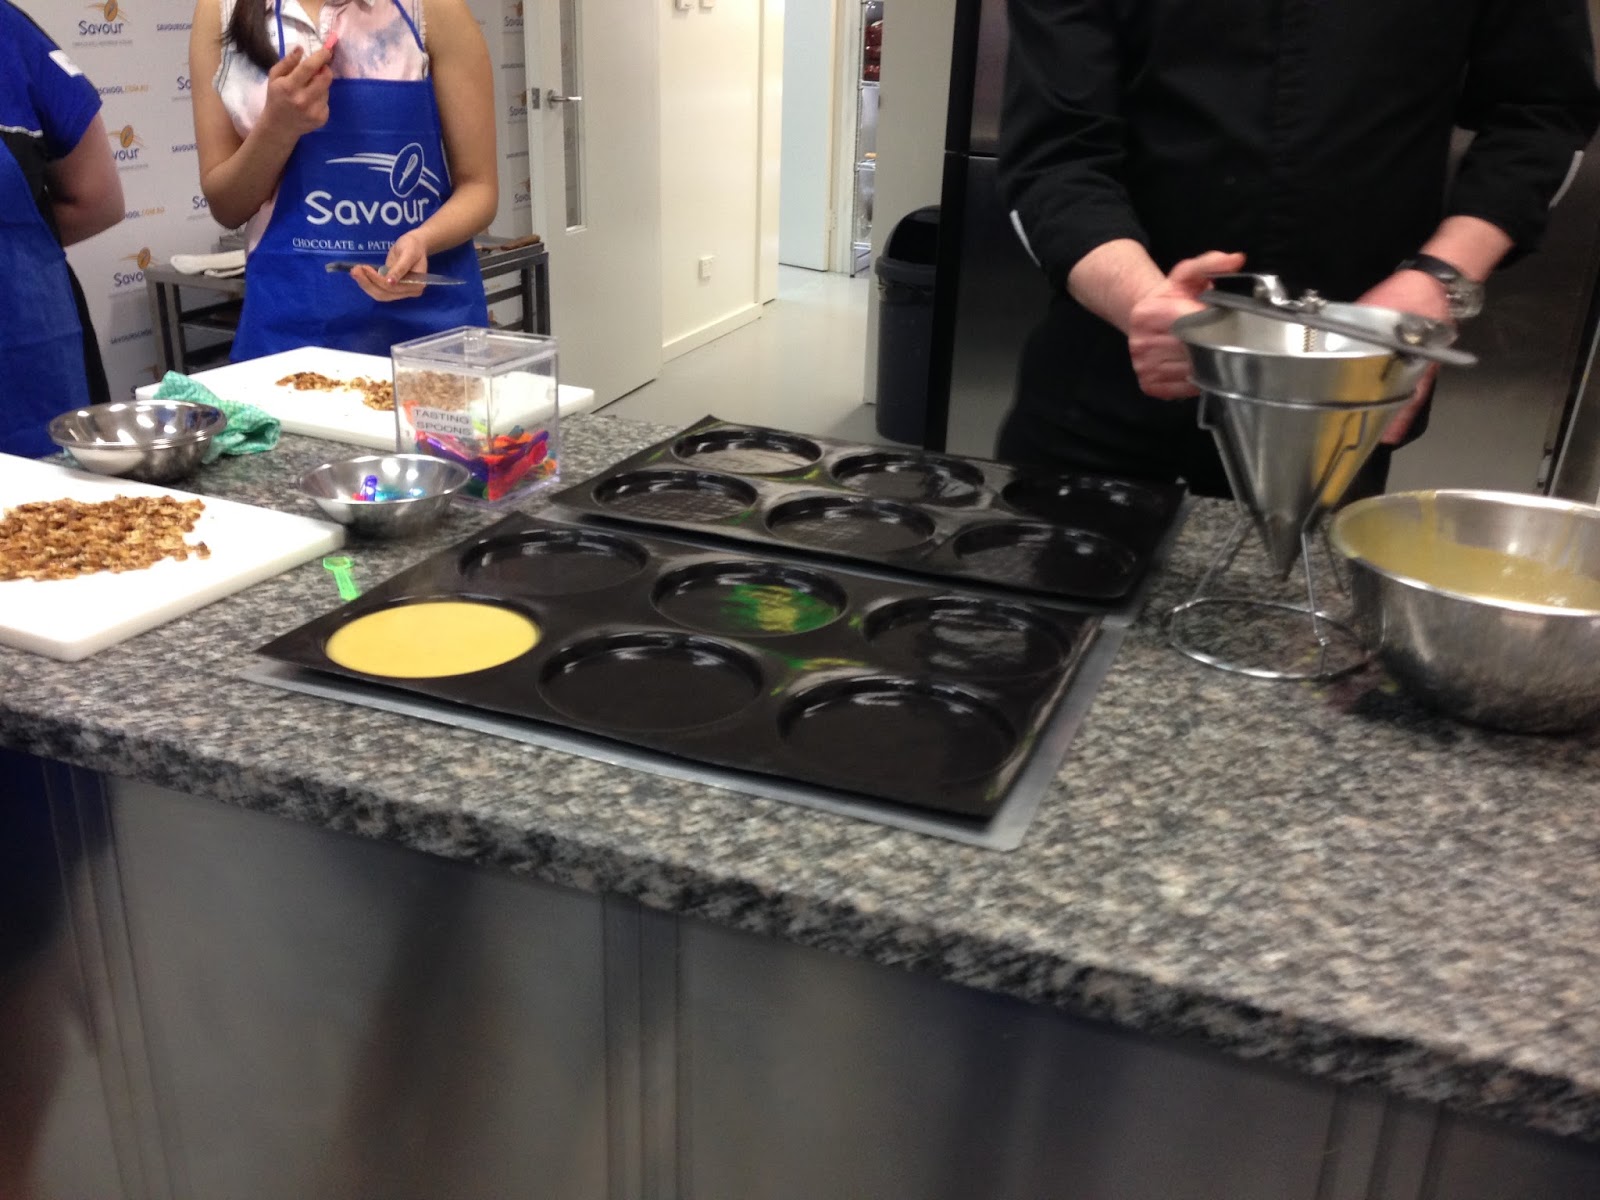
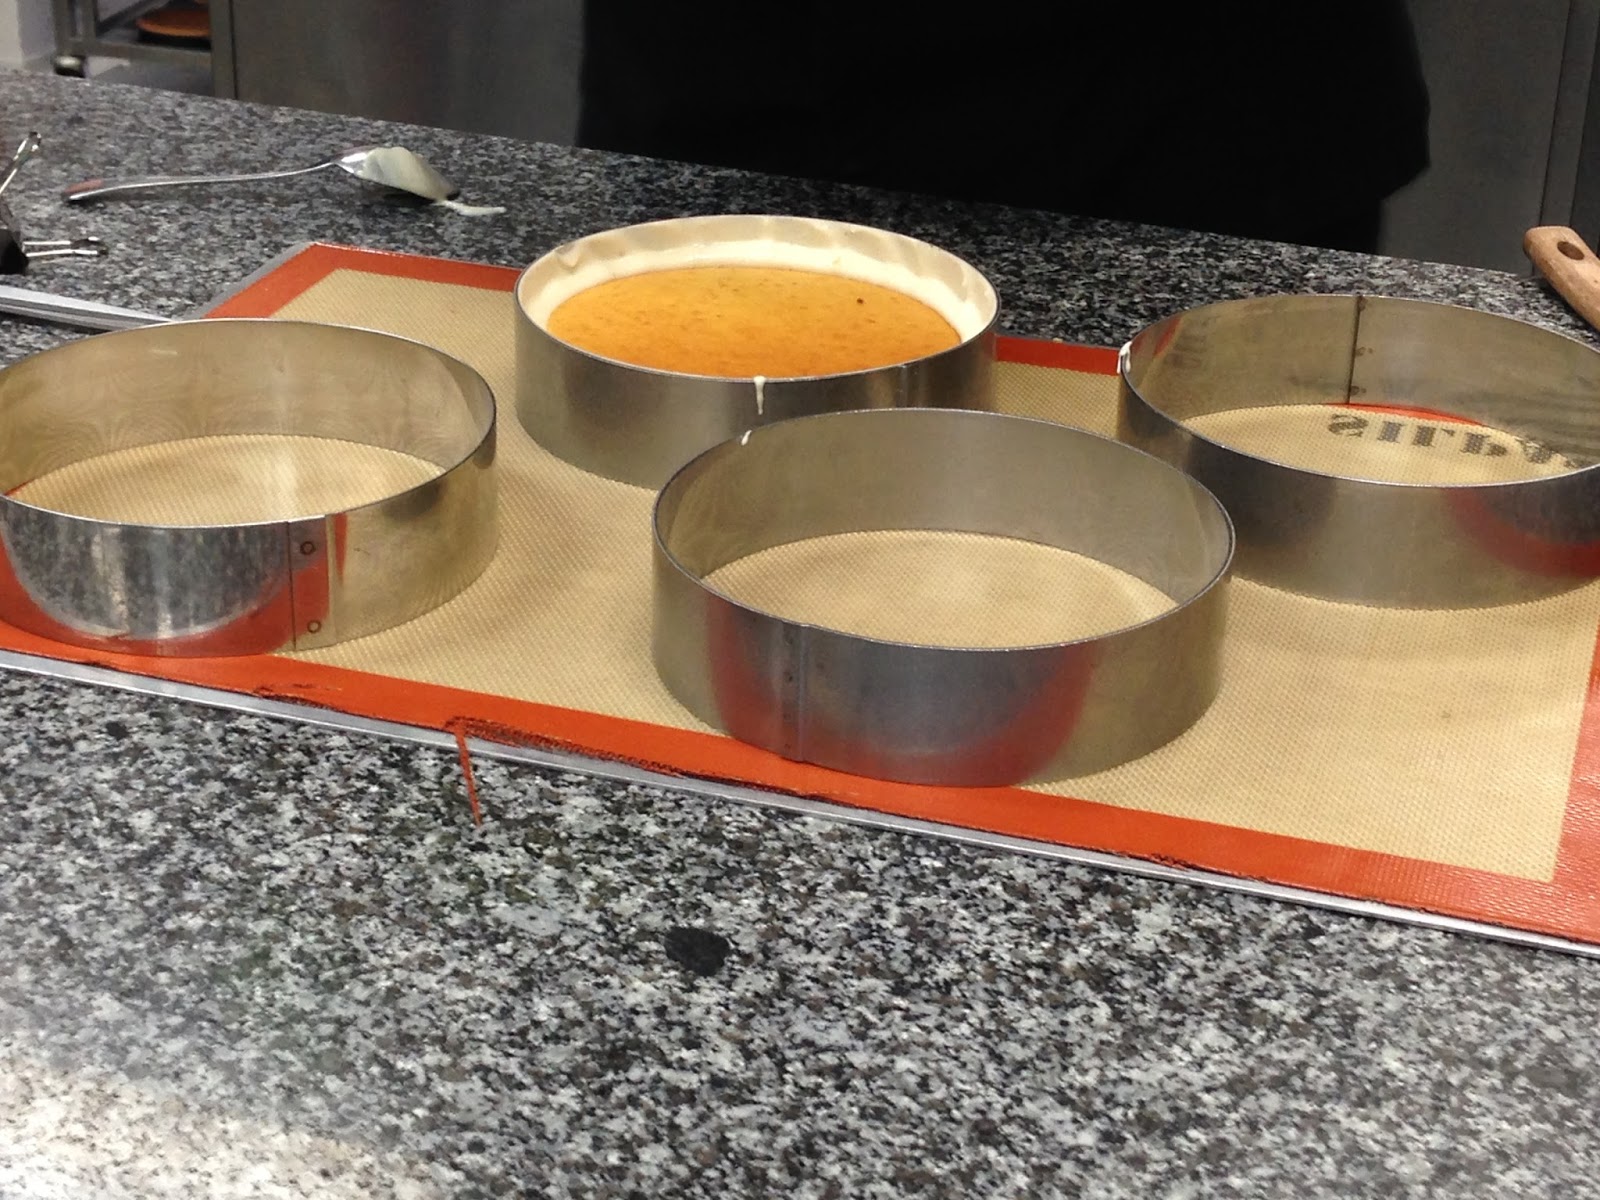
The next day it was time for my class at Savour School and I was super excited. As I walked though the front door I was a little bit nervous but so happy because the time had finally come. We got our recipe books and aprons first and met our teacher - Paul Kennedy. When we finally got into the kitchen, I was in awe. The equipment was state of the art and I just wanted to learn how to use it all. I could have spend months just constantly learning there. We spent the whole day learning and cooking and it was one of the most valuable experiences of my life. We made two different Entremets - Banana Milkshake made with a honey madeleine, banana cremeux, caramelised walnuts, banana mousse and a yellow glaze with chocolate decorations as well as a Coffee and Praline one made with a hazelnut and coffee daquoise, praline sponge, cardamon and tanzanie 75% chocolate cremeux, coffee mousse and a chocolate velvet spray with chocolate glacage and chocolate decorations.
My favourite was the banana one as I do not like coffee but everyone else who tried it absolutely loved it as well.

Banana Milkshake Entremet
Coffee Praline Entremet
Inside Banana Entremet 
Inside Coffee Entremet 
        
Spreading praline sponge for baking

Spreading honey madeleine for baking 
Daquoise ready for baking
Banana cremeux ready for freezing


 Assembling the banana milkshake entremet

 Moulded chocolates to decorate the banana entremet

Making chocolate garnishes 
Glazing the banana entremet

This class taught me so many skills that I can use in the future to continue creating my own entremets and I would recommend this class to anyone who is interested in this kind of thing. I can't wait to get the opportunity to complete another class.

After the class I stocked up on some new equipment and chocolate from the retail store at savour and then Mum and I finished the day with Turkish for dinner and skipped dessert in order to save my cakes to take home and share with my family. 

Sunday was our last day in Melbourne and to finish we headed down to St Kilda where we visited Cacao Fine Chocolates and Patisserie where we had brunch. I had a wonderful Raspberry and Custard Danish and an Iced Chocolate and Mum had Avocado and Toast. On the way out the door I got a Lemon Meringue Eclair to take with me which I enjoyed before our flight home later in the day. The eclair was one of the best I have ever had.

Melbourne certainly lived up to its reputation being the food capital of Australia and there are so many more places I can't wait to visit to sample their delicious food. See you again next time Melbourne!

Tuesday 4 August 2015

Ice Cream and Gelato + Vanilla Bean Ice Cream Recipe

A few months ago I purchased a new ice-cream maker. While the old one was still doing its job, it had certainly seen better days so using my family's frequent flyer points I bought a new one. The one I chose was a Cuisinart one and you can view the model online here. The reason I chose it was because the bowl didn't require freezing to churn the ice cream as it has an inbuilt compressor which chills the bowl without the prior commitment of freezing it which is great if you decide to make some ice-cream on a whim. The first flavour I made in my new machine was vanilla bean which is my all-time favourite ice-cream flavour.

When my new Ice Cream maker turned up, I was confused as to why there was both an ice-cream and a gelato paddle included. This got me thinking about what the real difference between ice-cream a gelato actually is because for all I knew they were virtually the same... I was wrong. The main difference between the two is not where they originate from (although that is different as well) but the ratio of cream and milk in them. Ice Cream mainly uses a similar amount of cream and milk (this changes slightly depending on flavour) however Gelato has a high ratio of milk to cream meaning a lower fat content. I'll still admit though that while I now know more about the two products, it hasn't changed my opinion of them in the slightest and I love them both equally for their deliciousness.

This weekend I made both an ice-cream and a gelato.
The first flavour was a vanilla bean ice-cream with a vanilla caramel swirl. The flavours in this ice-cream were sweet and delicious and I absolutely love the flavour of a vanilla bean caramel. I added the sauce to my traditional vanilla bean ice-cream and swirled it through when I was pouring it into a container to place in the freezer.
The second was a blackberry gelato. I chose this flavour as I had a really delicious one at a Gelato Shop in Townsville recently. The flavour in this recipe was subtle but delicious. It wasn't too tangy or sweet and it had the most divine colour. Next time I definitely want to try for a stronger flavour but this was absolutely delicious and the end result had a wonderful mouth feel which I am unsure whether it was from the different churning blade or the use of more milk.
Here is my vanilla bean ice-cream recipe, it is probably very similar to many of the other recipes you will find online. It is my absolute favourite flavour of ice-cream and being custard based it is a lot more rich that your average supermarket ones. If you attempt this recipe, let me know by commenting below or tagging me on instagram @sweettreatsbytannah. I apologise that this recipe isn't print friendly (a quick copy and paste into a word document should work though) but please enjoy!

Vanilla Bean Ice Cream Recipe 
Makes approx. 1L

Ingredients
- 8 egg yolks
- 150g caster sugar
- 375g full cream milk
- 375g thickened cream
- 1-2 vanilla beans (depending on size)

Method

  1. Whisk together egg yolks and sugar in a medium sized bowl until pale and fluffy. 
  2. In a medium saucepan, combine the milk, cream and scraped vanilla seeds. Place over a medium heat and bring to a gentle boil.
  3. Once the milk has reached a gentle boil, remove from heat and add a small amount to the egg yolk mixture, whisking well after the addition. This will temper the eggs so that you can add the remainder of the hot milk mix without cooking the eggs. 
  4. Transfer the mixture back into the saucepan and place over a low heat. Cook while continuously stirring until the mixture thickens and coats the back of a wooden spoon. You don’t want a custard like consistency but more like thickened cream.
  5. Place mixture back into the bowl over an ice bath until it cools to room temperature. Decant the cooled mixture into your ice-cream maker and churn according to the manufacturers instructions. Once it has churned, place into the freezer to firm up completely then enjoy. (The ice cream can still be enjoyed straight from the mixer but will melt quite quickly)
  6. This recipe is very versatile, you can serve it by itself or with almost any dessert. Or you can easily customise this recipe by adding crushed cookies, lollies, chocolates etc just before you finish churning it. You can even omit the vanilla seeds and add 1 tsp of vanilla essence before the mix cools.

Friday 17 July 2015

Cake Bake and Sweets Show + A Modern Paris Brest

A few weekends ago I was lucky enough to attend the Cake Bake and Sweets Show in Sydney. The show was fully devoted to all things sweet with over 100 vendors a range of things from handmade sweet treats to all the equipment you need to create your own cakes and desserts. As well as that there were some well known cake and dessert personalities from across Australia and the world who were demostrating desserts or sharing skills and techniques at various theatres and classrooms across the venue. At the show I attended demonstrations by some of my food idols including Kirsten Tibballs from Savour School in Melbourne , Tim Clark from Cacao Fine Chocolates, Pierrick Boyer from Le Petite Gateaux, Adriano Zumbo and a few others. I also bought myself a two new cookbooks which were Chocolate to Savour by Kirsten Tibballs and The Zumbo Files by Adriano Zumbo, both of which I got to meet the authors of and get the books signed. The weekend I had at the Cake Bake and Sweets Show was an amazing experience and I gained so much through both knowledge and experience that I will never forget.

A few weeks after the show, once school holidays came along I felt inspired to make an attempt at recreating Kirsten Tibballs' Modern Paris Brest which she demonstrated at the Cake Bake and Sweets Show. It was a very impressive dessert and when Kirsten had made it she displayed it on a hand crafted chocolate showpiece.
While I definitely wanted to recreate this dessert, I don't yet have the skills and knowledge to make a chocolate showpiece so I chose to emit that part. 
This dessert is a modern take on a traditional French choux pastry based dessert. 
The base of the dessert was a Breton Shortbread which contained baking powder to give it a small amount of rise. I baked it in a donut shape and once it was baked there was a small dip in the centre like a well. This was the stable structure to be used as the base for this dessert. In was then topped with a caramel which was infused with vanilla and star anise.
The next and most important part was the choux pastry. Small choux puffs topped with sable sat on top of the shortbread base in the donut shape. 
These were filled with a vanilla custard and raspberry jelly. My raspberry jelly did not set correctly so I used it more like a jam and it still added the bitterness to counteract the overall sweetness of the dish. 
Once the Paris Brest was assembled, a chocolate disk was added as a garnish. This only added colour and beauty tonthe disk. I chose to leave off the other garnishes from the dish.


I was really happy with how the dish turned out however there is room for improvement next time. The flavours were delicious and complemented each other well making the dish pleasurable to eat. The recipe can be found in the Cake Bake and Sweets Show recipe book for those who attended the show or on the Savour School Blog (link to the recipe is earlier in this post). This dessert took less that one day to complete and is quite easy for those who don't have much experience in making desserts.

Recently I also recieved some fresh homegrown lemons from a family friend. To use them up I decided to make a lemon curd.
With the lemon curd I made some lemon meringue macarons. I have had the idea for these macarons for awhile now and I finally got to try them. These had a bright yellow shell (I used a new food colouring for these and was surprised at just how bright the colour turned out), homemade tangy lemon curd and a torched italian meringue. I gave them as a gift to our friend who had kindly given me the delicious fresh lemons.

This holidays I also made another recipe from my Darren Purchese book Sweet Studio. They were Explosive Raspberry Marshmallows. A chocolate popping candy base, soft raspberry jelly centre, raspberry marshmallow and freeze dried raspberry powder for the appearance.
This was my first attempt at tempering chocolate using the marbling method. I used my new marble cutting board I recieved for Christmas. I haven't tried this method until now due to the hot summer temperatures we had. They worked perfectly which I was happy about because tempering chocolate is hard to master. I used this new skill to make my chocolate garnish for my paris brest.
That was the last of my school holiday baking but I was happy with the amount that I got to cook and also the new skills I taught myself and the personal boundaries I pushed which I may not have gotten around to if I were at school. 
Thanks for reading.

Monday 13 July 2015

Caramelised White Chocolate Entremet

This week I decided to give my first ever entremet a go. I first began admiring these mousse based cakes last year and the possibility of making one that tasted and looked delicious seemed nearly impossible at the time. When I recieved the book Sweet Studio by Darren Purchese last Christmas, that dream became somewhat more of a reality. Now 6 months later and after purchasing a few essential ingredients and pieces of equipment I can finally say that I have done it!
The recipe that caught my eye first in the book was one with caramelised white chocolate due to my major love affair with this chocolate! I have made chocolate blocks and ice cream with it before so I knew I couldn't go wrong. The other flavours in the entremet were passionfruit and spiced macadamia. The original recipe also contained caramelised banana creme but I chose to emit thus element so that I could keep it a little bit more simple. 

When assembling this entremet, like any other you begin by making the inserts. For this, I made a spiced macadamia pastry - this added crunch and some spice to cut through the sweetness of the cake. I also made two passionfruit elements, curd and jelly - these added tartness to cut through the sweetness of the white chocolate. Once each of the elements were ready, I assembled them together ready for construction of the cake. 

Next I had to make the caramelised white chocolate mousse so that I could assemble the cake. This was a fairly simple step. Once that was ready and my  entremet ring was lined with acetate on a baking tray, I was ready to go. First I filled the ring with 2/3 of the mousse. Then i placed my insert into the centre upsode down and gently pressed it down. I filled in around the insert with the remaining mousse and levelled it off. As I decided to make a slightly larger entremet, I did not quite have enough mousse to fill my ring which left me with a slightly smaller entremet. I froze the entremet for 3 hours. 
While that was freezing I made some chocolate garnishes to decorate the cake with once I was finished. I decided to decorate the cake differently to how it was suggested in the recipe by glazing it instead of using a velvet spray as I don't yet have a spray machine. For the chocolate garnishes I wanted to represent the passionfruit so I used some black cocoa butter to paint 'seeds' onto an acetate sheet. I learnt this technique from the book Chocolate to Savour by Kirsten Tibbals. 
Once that had set, I tempered some white chocolate using the seeding method and coloured it yellow. Then i spread it over the cocoa butter on the acetate and once it had set it cut it into circles. 
For the cake I was inspired by Anna Polyviou's Carrot Cake om Masterchef and I wanted to do a caramelised white chocolate glaze with yellow lines on it. Once I had made both of the glazes and they were are the right temperature, I took the entremet from the freezer and set it up for glazing. Once I had glazed it, I used a paper cone to pipe some lines of yellow along the side of the cake and then inserted some of the garnishes into the edge next to the lines.

Once it was complete, I transferred it to a cake stand until it was time for dessert. It was a big hit among everyone who tried it. I loved the way that all of the flavours and textures worked really well together to create a superb dessert that I definitely want to try again.

I would love to share the recipe for this entremet with you all but as it isn't my recipe I'm not going to share it without permission but I strongly encourage everyone to get their hands on this book if they are interested in patisserie. I have cooked a few things from it and they have all been easy to follow and the final product is always great. Most of the recipes require some specialist ingredients but I still believe that its worth it.

Thanks for reading!